Crisp AIP Chicken Tenders made with a high fiber coconut-cassava coating so you can hit your protein goals on the gluten-free, paleo, and autoimmune protocol elimination diet.
Jump to Recipe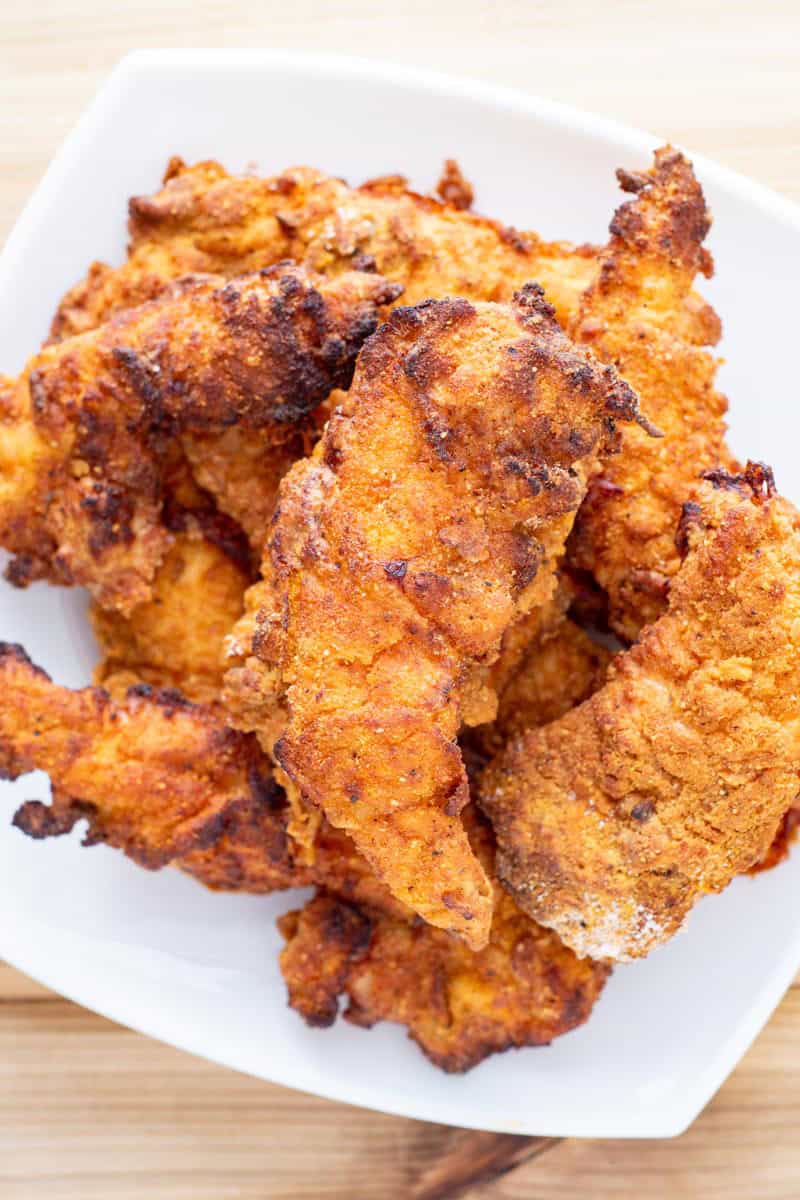
Craving fast food? These juicy, flavorful, little dippers really hit the spot--that special place between nostalgia and convenience that we all could use on our food allergy journey from time to time.
My toddler food critic tells me these are "crispy, crunchy, and fresh" which brings me to my next point: texture.
Let's face it, crunching down on something from time to time is just plane satisfying, and that texture is hard to come by when you eliminate a lot of snack foods.
It was really that longing for crunch that led me to finally experiment with dipping chicken tenders in coconut milk (I know) followed by a blend of cassava and coconut flours. Those were the ingredients I had in the pantry. Guess what?
It didn't just work, it worked really well! I don't know why I ever delayed. From the flavor, to the texture, the kids and the adults in my life adore these chicken tendies; we've had them with honey, AIP ketchup, ranch, even bbq sauce.
Jump to:
🍽 Equipment
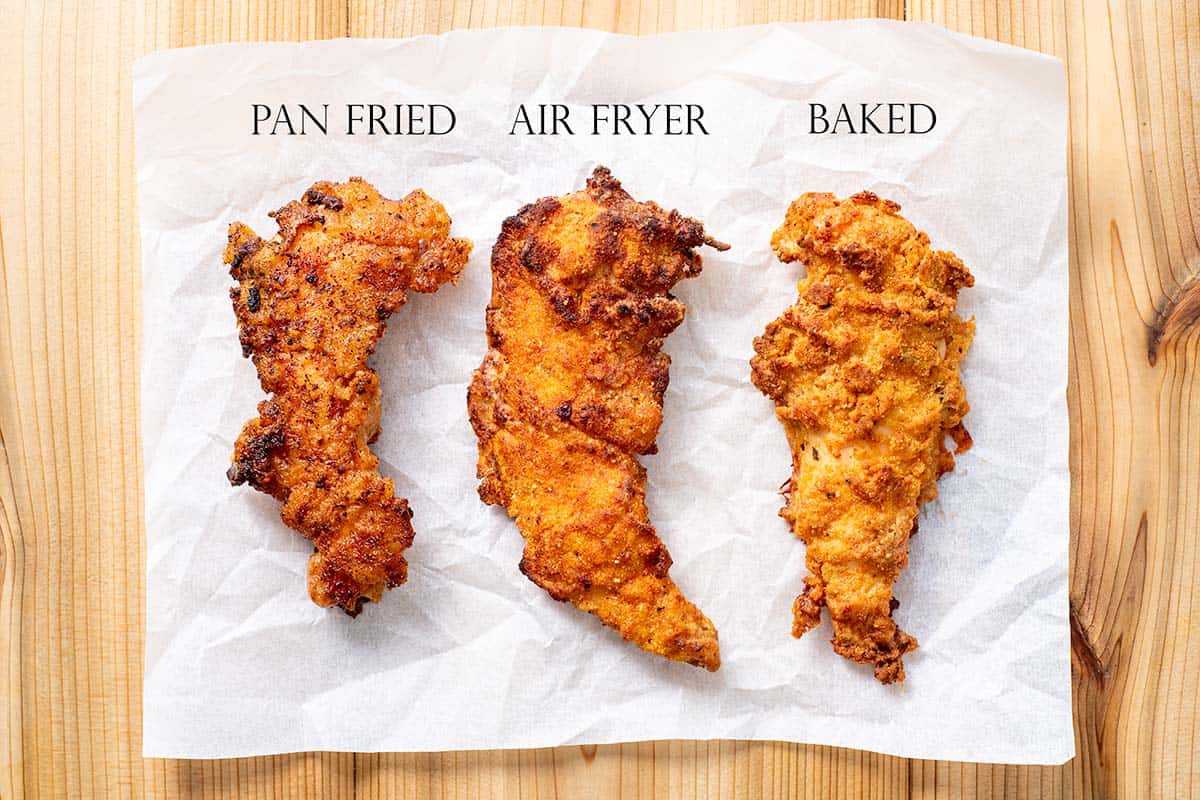
During recipe testing and development, we (1) pan-fried (2) air-fried (3) and baked the chicken tenders and only needed to make visual adjustments to cook time (and oil obviously depending on the method).
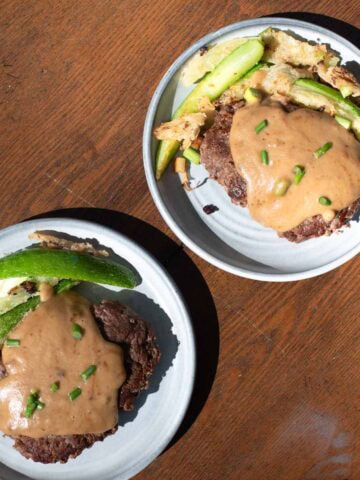
*One note about the pictures, we did initially include turmeric which gives these a ton of golden color (I've since removed the turmeric because I found the flavor profile too distracting). More important than color, you can easily tell from the photos that there is that coveted crunch layer of goodness whether you pan-fry, bake, or air-fry.
The takeaway? Be sure to preheat your pan/oven/air-fryer; you want the temperature to be high enough that you achieve crispy (not soft) exteriors and properly cooked interiors (165°F-175°F).
⏲️ Baking time
Preheat to 425°F. Grease a baking sheet really generously with avocado or olive oil. Place chicken tenders on top with space in between; if you crowd the tenders, the breading will stay soft. Bake for 7 minutes, gently flip and bake another 7 minutes (14 minutes total).
If your chicken tenders aren't golden/crispy, it's generally ok to cook longer; I find the texture of chicken is still quite succulent at 175°F.
🥘 Ingredients
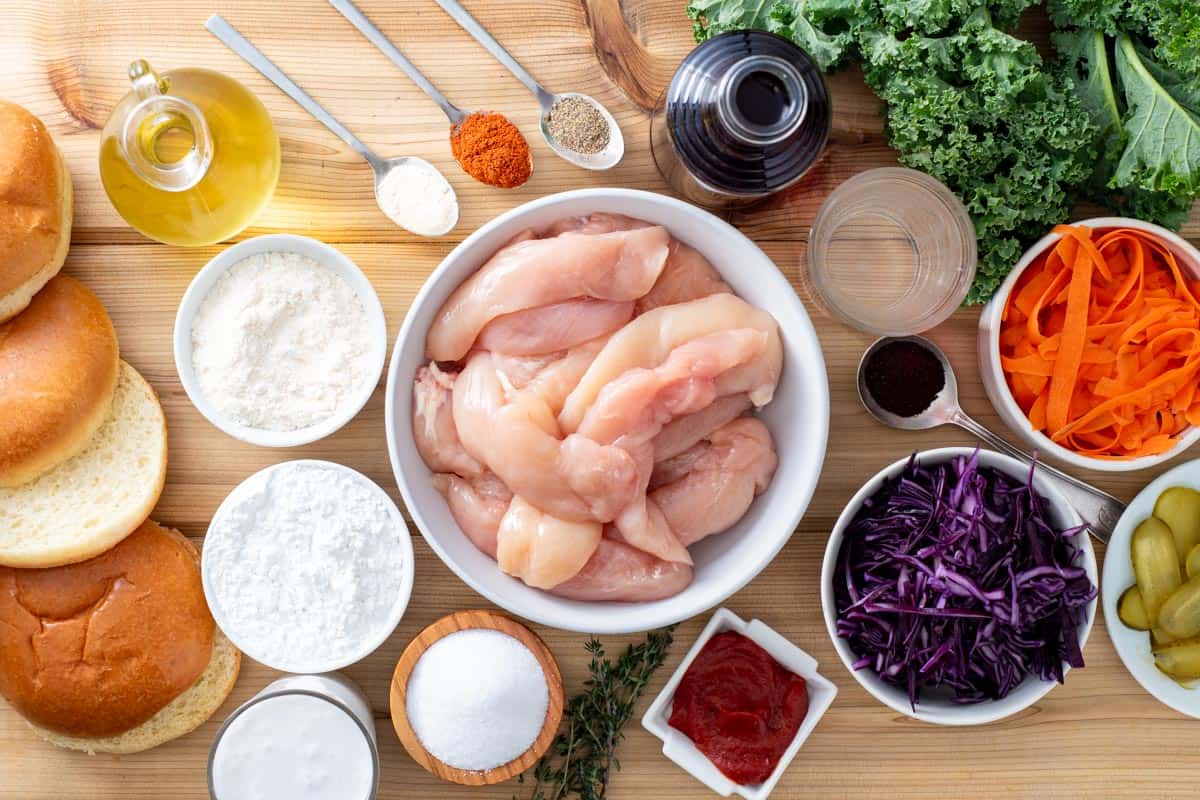
To make homemade chicken tenders for the fam-damnly, you will need:
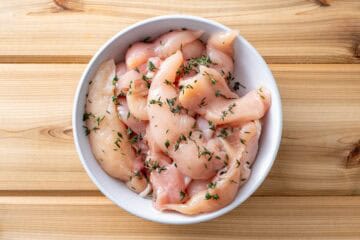
- chicken tenderloins, preferably organic: you definitely want the tenderloins for chicken tenders because they are naturally a smaller, thinner, more evenly-sized cut of meat. Think, easy to bread and easy to cook, evenly.
- fresh thyme leaves: feel free to leave this ingredient out or substitute with finely chopped fresh parsley or chives
- cassava flour: I buy a big bag of cassava flour every 6 months and find it's most similar to all-purpose flour; I like it because it's a more wholesome ingredient than tapioca starch, which we aim for to keep our blood sugar balanced
- coconut flour: I use coconut flour sparingly because it's highly fibrous and absorbent, which is exactly why it helps so much compared to just cassava flour alone (cassava flour only has a tendency to fall off the chicken)
- fine sea salt: don't be put off by the amount of salt in the recipe; you are adding it to the flour mixture and so you want to season more heavily
- onion powder: this ingredient is there for flavor but it actually also helps achieve a crispy texture; interestingly, you might want to leave this one out if you know you want to serve your tenders with honey
- garlic powder: I personally prefer the combo of onion and garlic powder but if you only have one, you could double the onion/garlic powder to compensate
- coconut milk: In this application, the coconut milk is really useful as an egg (not AIP) so it's best to use canned, full fat milk because it's relatively thick and sticks to the chicken
- oil: I like avocado oil the best but often use olive oil or refined coconut oil, too. While I haven't tested lard or tallow, both should work.
🥗 Side dishes
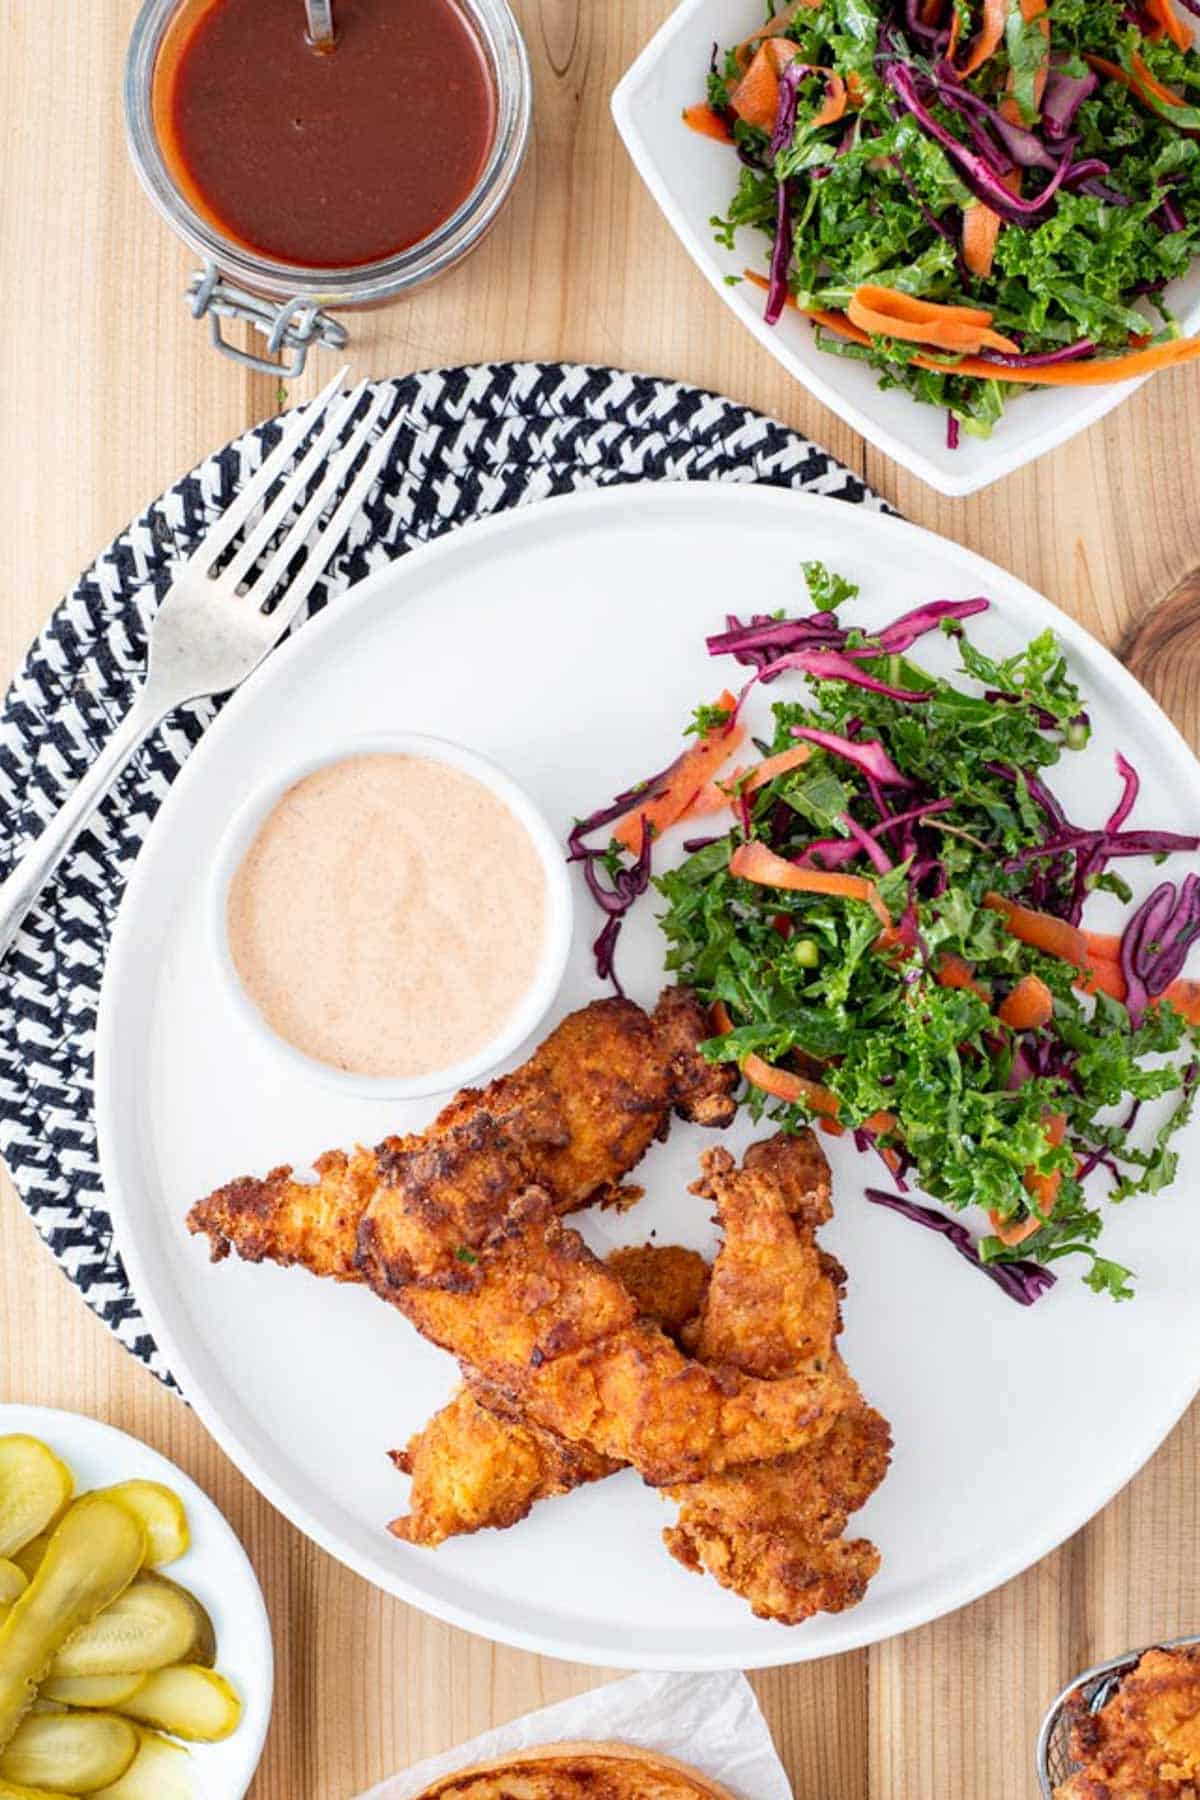
Since this is a site dedicated to healing autoimmune disease, I highly recommend adding something like a raw, fresh salad to the plate.
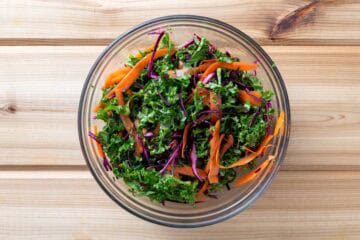
To make the slaw, you will need: kale, avocado oil/olive oil, umeboshi vinegar (a Japanese vinegar with a uniquely tangy, salty flavor), thyme (optional), cabbage, and carrot.
🔪 Instructions
Time needed: 1 hour and 20 minutes
While I'm pretty crazy about the utility of this family/toddler-friendly chicken, the Achille's heal is that the crust is fragile. It can fall off if you over-handle the tenders. For this reason alone, I'd recommend air-frying in the basket because it's the cooking method that requires the least flipping. Here's how:
- Marinate the chicken.
Rub the thyme leaves over the chicken and allow to marinade for 1 hour or overnight in the refrigerator (optional step).

- Make the gluten-free breading.
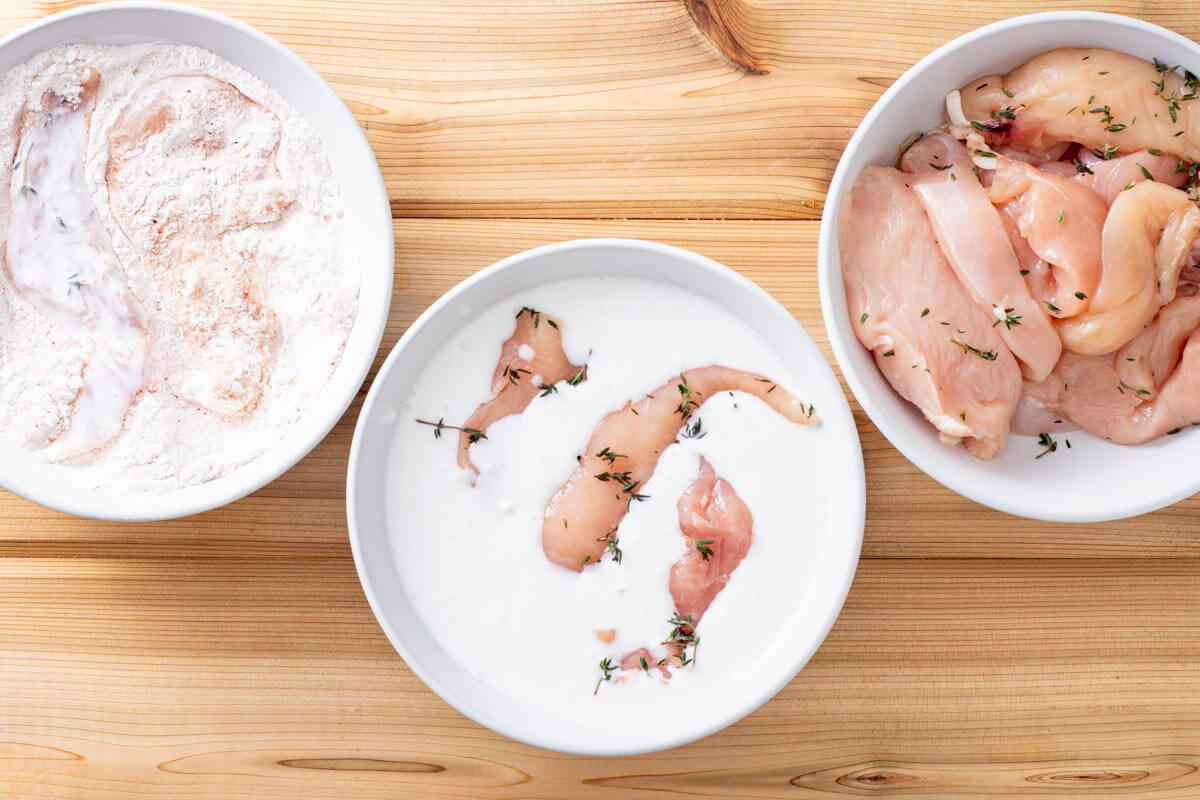
In a large bowl, combine the cassava flour, coconut flour, salt, and spices. In a small bowl, pour your canned coconut milk and stir to combine. For this recipe, you will be coating your chicken in the coconut milk, then grain free flour mixture, and then cooking in an airfryer/a skillet (pan-frying)/an oiled baking sheet in the oven.
- Dredge the chicken.
Dip the chicken in the coconut milk followed by the cassava-coconut flour mixture.
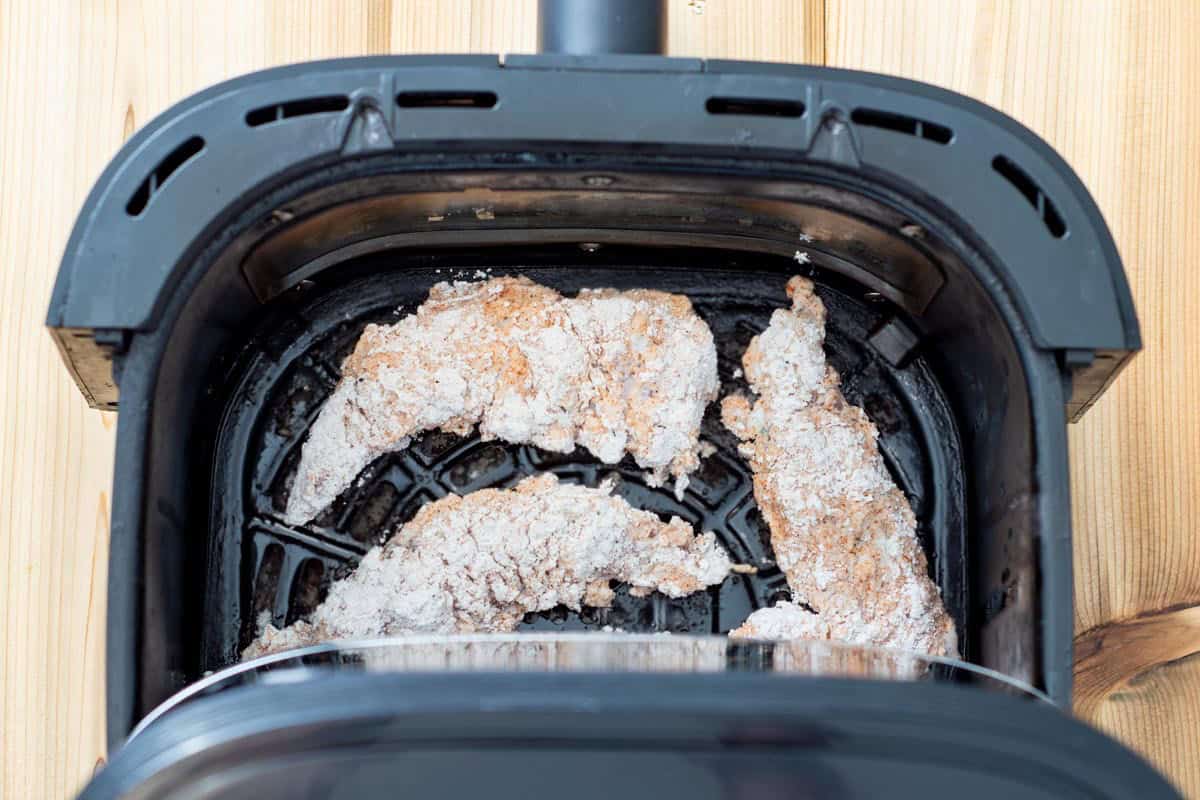
- Cook the chicken. (Air Fryer Method pictured below)


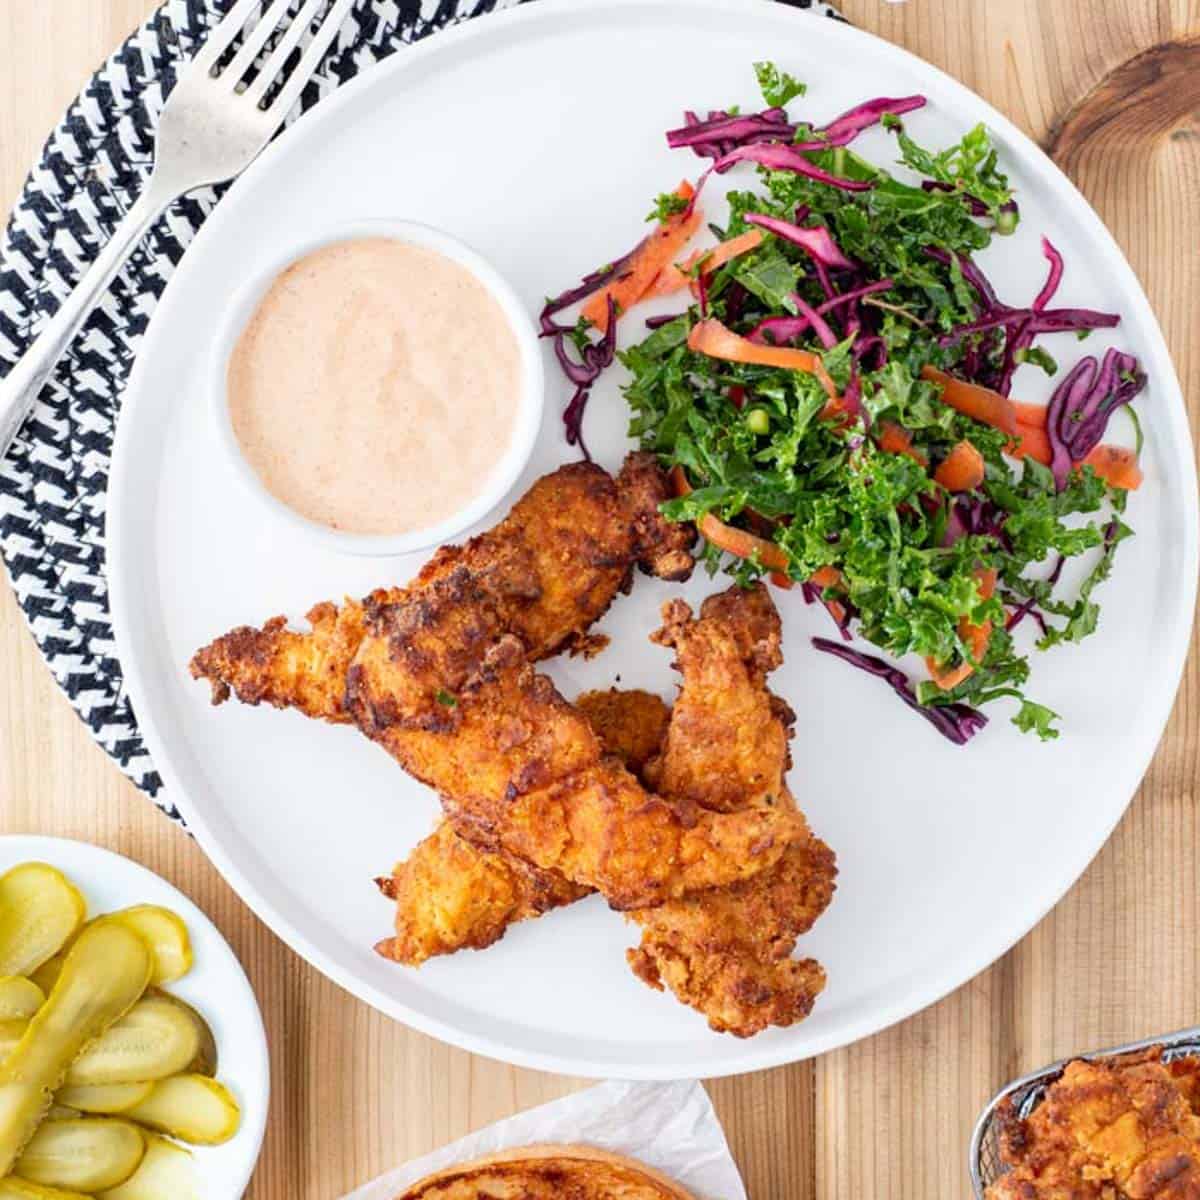
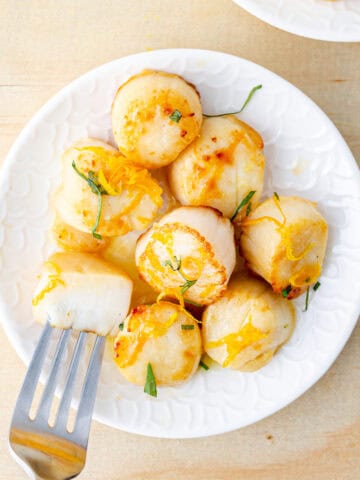
That's it! Once the chicken is cooked, you can serve it hot and fresh with lemon wedges or make an AIP sauce such as this Lemon Garlic Sauce {AIP, Dairy Free}.
🧂 Seasoning
Just wanted to quickly mention that you can totally make this recipe with salt as your only seasoning. If you can add thyme, garlic and onion powders, just know that your tendies will really have that restaurant quality.
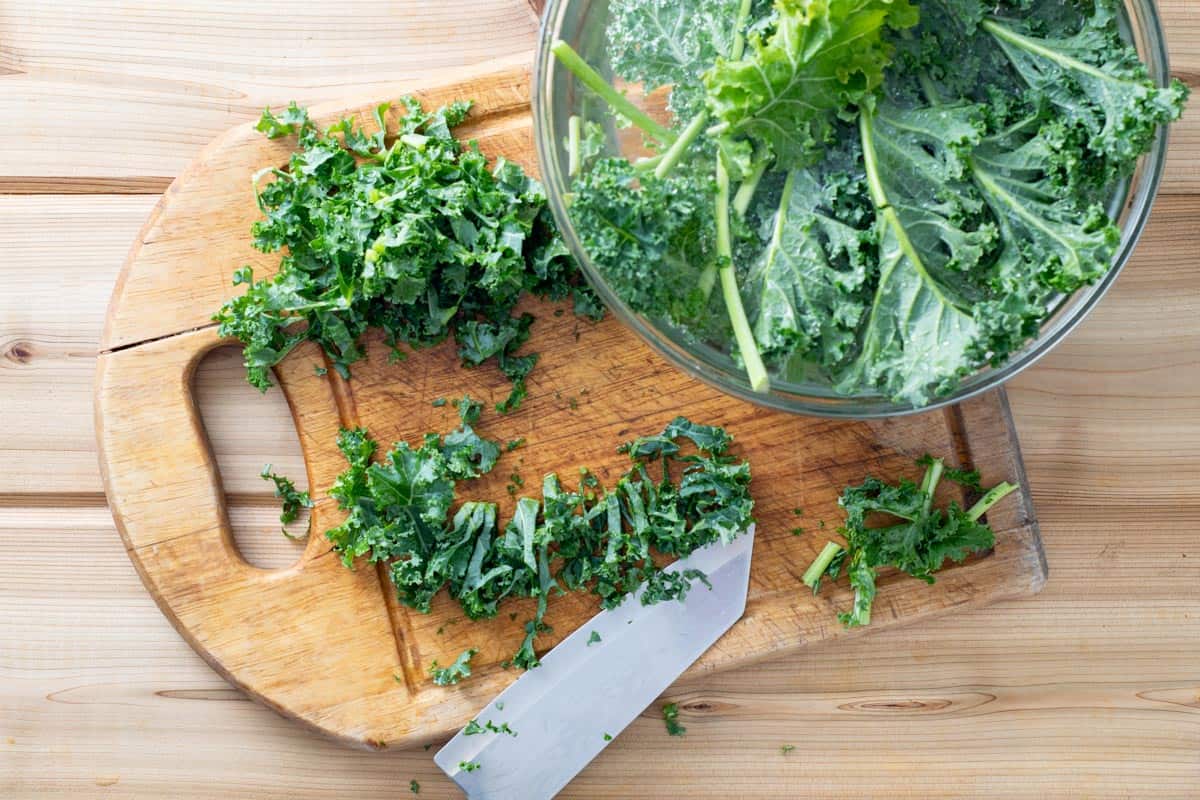
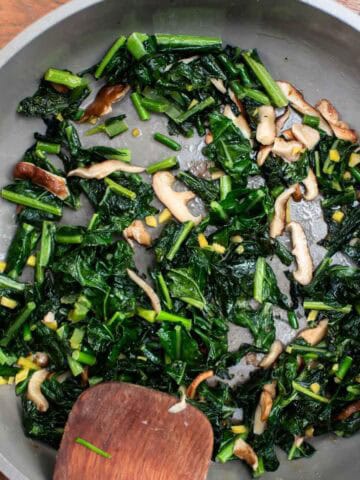
How to Cut Kale
While the chicken is cooking, I like to remove kale stems and slice thinly into strips for the slaw. It tends to soften as it sits in the dressing. You can find umeboshi plum vinegar online or sometimes with Asian ingredients in the grocery store.
📋 Recipe
This recipe came about on a whim because I always stock coconut milk, spices, coconut flour, and cassava flour as an integral part of my literal autoimmune pantry. It turned out so perfectly, I couldn't wait to share it with you.
Crisp AIP Chicken Tenders and Kale Slaw
Ingredients
Chicken Ingredients:
- 1 ½ pounds chicken tenderloins organic, sliced evenly
- 2 teaspoons fresh thyme leaves optional
- ¾ cup Cassava flour not tapioca starch
- ¼ cup Coconut flour
- 2 teaspoons fine sea salt
- 1 teaspoon onion powder
- ¼ teaspoon garlic powder
- 1 14- ounce can full-fat coconut milk
- avocado oil or olive oil used throughout (see individual steps)
Slaw Ingredients:
- 1 bunch lacinato curly, or red kale
- 3 tablespoons extra-virgin olive oil or avocado oil
- 1 tablespoon umeboshi plum vinegar
- ½ teaspoon fresh thyme
- ¼ purple cabbage thinly sliced
- 1 carrot use peeler to get thin ribbons
Instructions
- Marinate the chicken. Rub the thyme leaves over the chicken and allow to marinade for 1 hour or overnight in the refrigerator.

- Make the gluten-free breading. In a large bowl, combine the cassava flour, coconut flour, salt, and spices. In a small bowl, pour your canned coconut milk and stir to combine. For this recipe, you will be coating your chicken in the coconut milk, then grain free flour mixture, and then cooking in an airfryer, a skillet (pan-frying), or on an oiled baking sheet in the oven.
- Dredge the chicken. Dip the chicken in the coconut milk followed by the flour mixture.
- Cook the breaded chicken until crispy.Air Fryer Method: Preheat to 400F. Using the greased basket insert (or tray) Cook in batches 10 to 11 minutes total (optional to turn halfway through) until the chicken is cooked (165F-175F) and crispy on the outside.Baked: Preheat to 425°F. Grease a baking sheet really generously with avocado or olive oil. Place chicken tenders on top with space in between; if you crowd the tenders, the breading won't crisp. Bake for 7 minutes, gently flip and bake another 5 to 7 minutes (about 14 minutes total). Pan-Fried: In a large pan over medium heat, add about ½ cup avocado oil. Using tongs, transfer 3 to 4 pieces of dredged chicken into the hot oil. Allow to cook 5 minutes before flipping so that each side gets nice and crispy (about 10 minutes total). Use a thermometer to check the inside temperature (165F-175F).
- Make the kale slaw. Submerge the kale in water then lift to drain. Use a knife to remove the bottom couple inches of the thick stem, discarding. Slice the greens into ¼-inch wide ribbons. Place the kale ribbons into a mixing bowl with 3 tablespoons of oil, plum vinegar, and thyme. Add shredded purple cabbage and carrot. Using your hands, massage the slaw until tender. Set aside.
- Plate the chicken with the kale and serve. You can serve the chicken tenders and kale slaw as-is or try adding dips or simply lemon wedges off to the side.


Nutrition
I really hope you'll try this recipe and aren't too shy about ordering the umeboshi plum vinegar for the kale slaw (it's truly a life changing ingredient). Please ask your questions or drop me a comment below. -Sara
Freezer Instructions
To freeze: Follow the entire recipe start to finish for the chicken (excluding the slaw) and then freeze the tenders in a sealed plastic bag for up to 3 months. To reheat, I recommend baking in the oven at 425F for 15 minutes or until warmed through.
Eileen says
Is there paprika in the recipe? It looks like it in the photos, but it isn’t listed in the ingredients
sara says
Hi Eileen,
I originally tested this recipe with paprika and turmeric and ultimately decided to leave them out. Paprika is immune stimulating and is not AIP. Turmeric is AIP since it is anti-inflammatory, but I actually hated the flavor so opted to leave it out of the final recipe edits. Of course, you are welcome to play around with your favorite spice additions.